Haiku® Coastal
Product Highlights
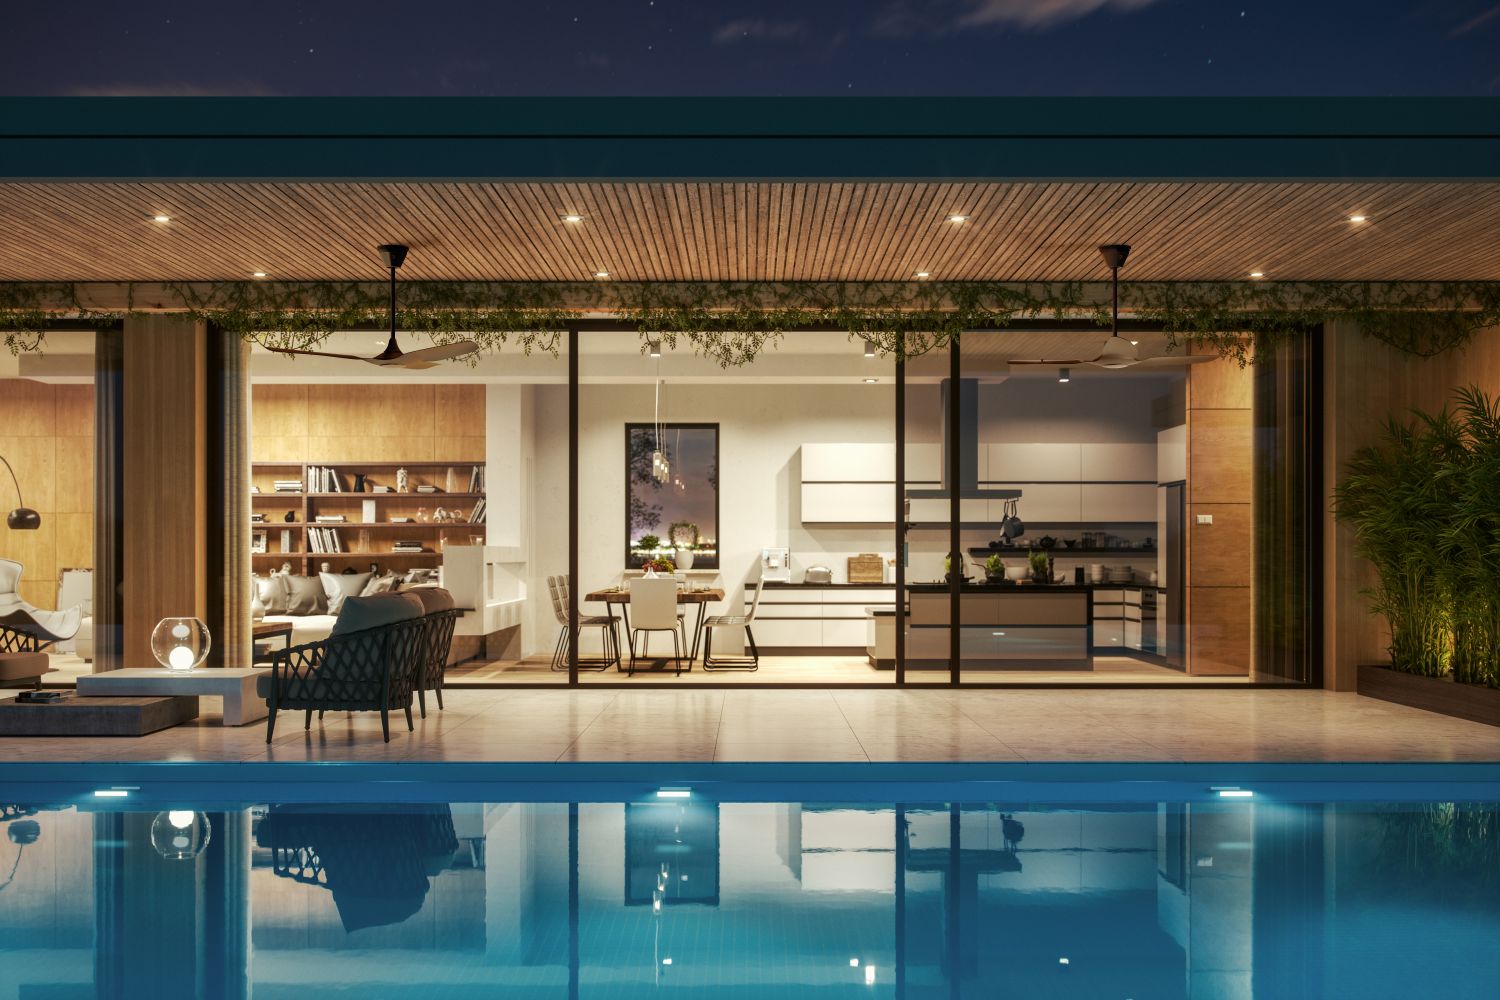
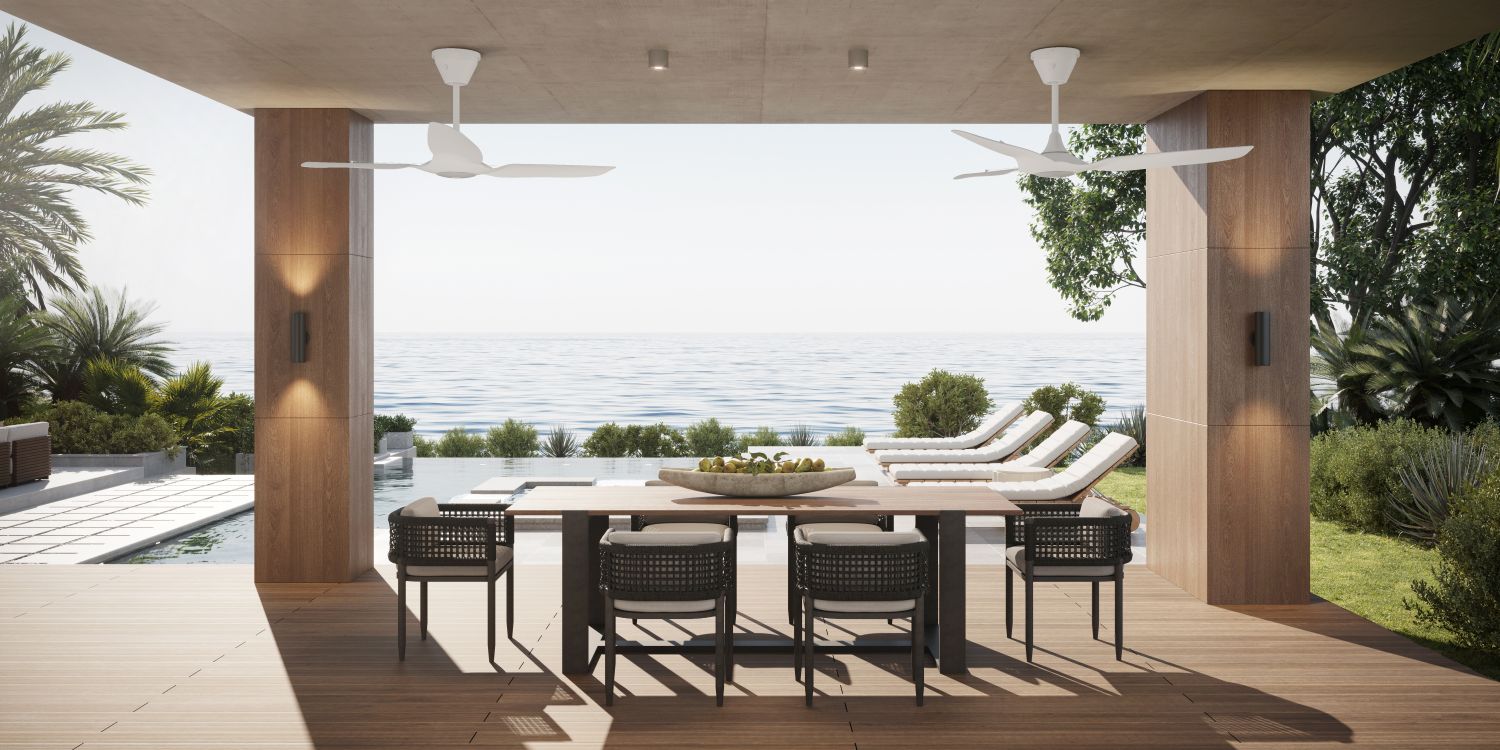
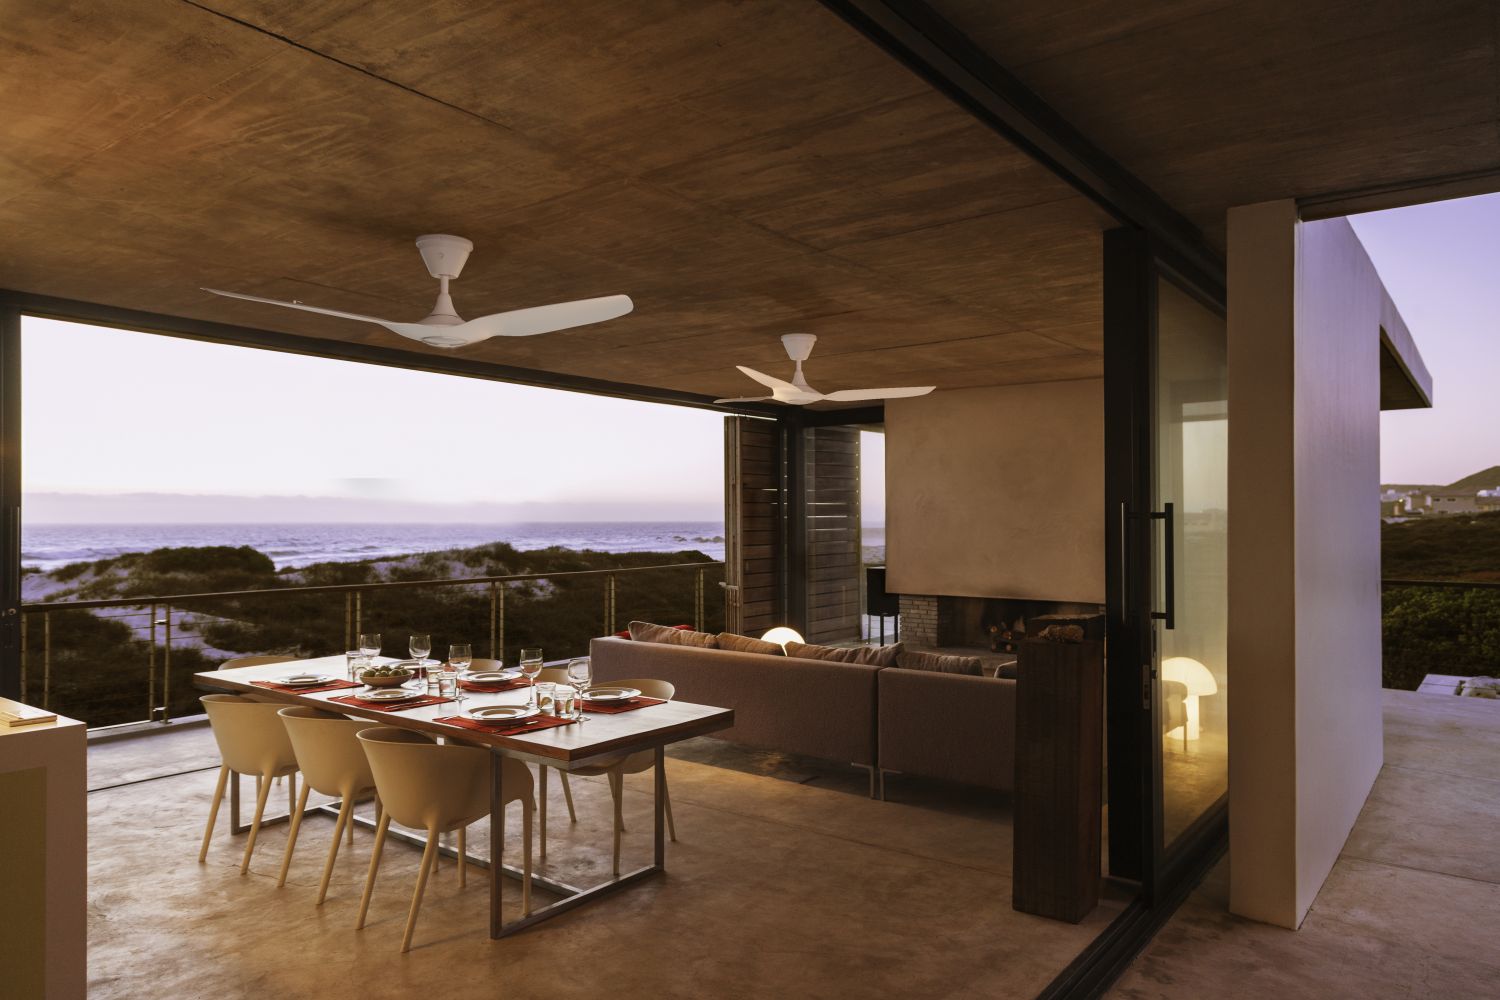
Engineered to endure, Haiku Coastal is built to deliver superior sea breezes. Designed with defensiveness and durability, experience quality comfort that you can rely on.
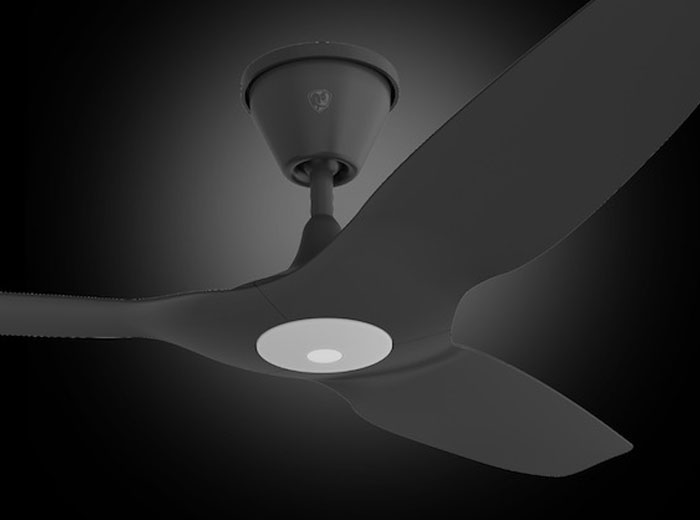
Haiku Coastal emphasises efficiency with sleek UV-resistant hybrid resin design, manufactured to withstand the eye of the storm, whilst capturing yours. Available in both Matte White and Matte Black finishes and whisper quiet EC motor integrated with a sealed LED light, bearings and electronics for protection against rain.
Sloped, Low or High Ceilings
Designed with a 52″ airfoil diameter, the fan is supported by our Universal Mount, accommodating ceiling heights of 2.4m – 4m, depending on downrod lengths. Please refer to this guide to select the downrod length of your choice.
Specs and Measurements
Discover specifications including weight, height, airflow output and sound level in the Haiku Cutsheet here.
Warranty & Returns
Haiku Coastal is covered by a 3-year wet-rated warranty, protecting your investment against extreme salt exposure, as well as a IP56 rating for dust and water protection. Our service department is here to assist with any technical questions you may have here.

RIGOROUSLY TESTED TO WITHSTAND EXTREME CONDITIONS AND OUTLAST COASTAL STORMS & WINDS

ANTI-GLARE & CORROSION RESISTANT FINISHES
Available in a highly requested Matte White and Matte Black hybrid-resin for reliable airflow and aesthetic.

INTERGRATED LED Light
Looking for functionality that you can trust? Sealed for protection against moisture, Haiku Coastal’s LED light allows for optimal visible comfort, at any time. With the adaptable ambience of 16 dimmable light levels, you’re in complete control of your lighting preference all year round.

Smart Home Integration
Introducing a smarter outdoor experience. Through the use of your Bluetooth wall control, hand-held remote or Big Ass Fans mobile app, you can have control in an instant. With features embedded such as voice control with Amazon Alexa and Google Comfort you can experience luxury, at your convenience.
Quiet Quality
Heavily tested against the coastal elements, you can rest assure that your investment will keep spinning, without interruption. Integrated with a whisper-quiet EC motor and stainless steel retention cables , you can enjoy the sea breeze, wobble & ticking free.
How to choose your fan

Smart Ceiling Fan, Smart Modes
Open up to the new possibilities
Intelligence paves the way to instant gratification. With the Haiku L Wi-Fi Module, you are able to add smart home technology to your Haiku L designed to adapt to your every need at the push of a button.
Woosh
Simulates a natural breeze by continually varying your fan’s speed up and down.
Grouping
Simultaneously control all fans in the same space.
Schedule
Set your fan to automatically shut off and turn on during a specified period of time.
A note from our biggest fans
![]()
“After installing the fans, we noticed staff turnover was less. So obviously the working conditions had improved, and it was a more comfortable place to work.”
– Andrew Carruthers, Asics Oceania
![]()
“Great product and not forgetting their amazing service”
– Sonia Ang
![]()
“We started with 4 Haiku fans 12 over years ago and added two some five years later. These fans serve us well and never gave us any issues. Love the sleek design and quietness. No doubt they are pricey but truly worth the money!”
– Joyce Lo
Feel Confident you’re buying the right fan
Get a Quote today
Whether you have an industrial complex or a small shop, our airflow experts are here to make your life easier, more comfortable, and less expensive.